EMI API
Automatically integrate your data into EMI
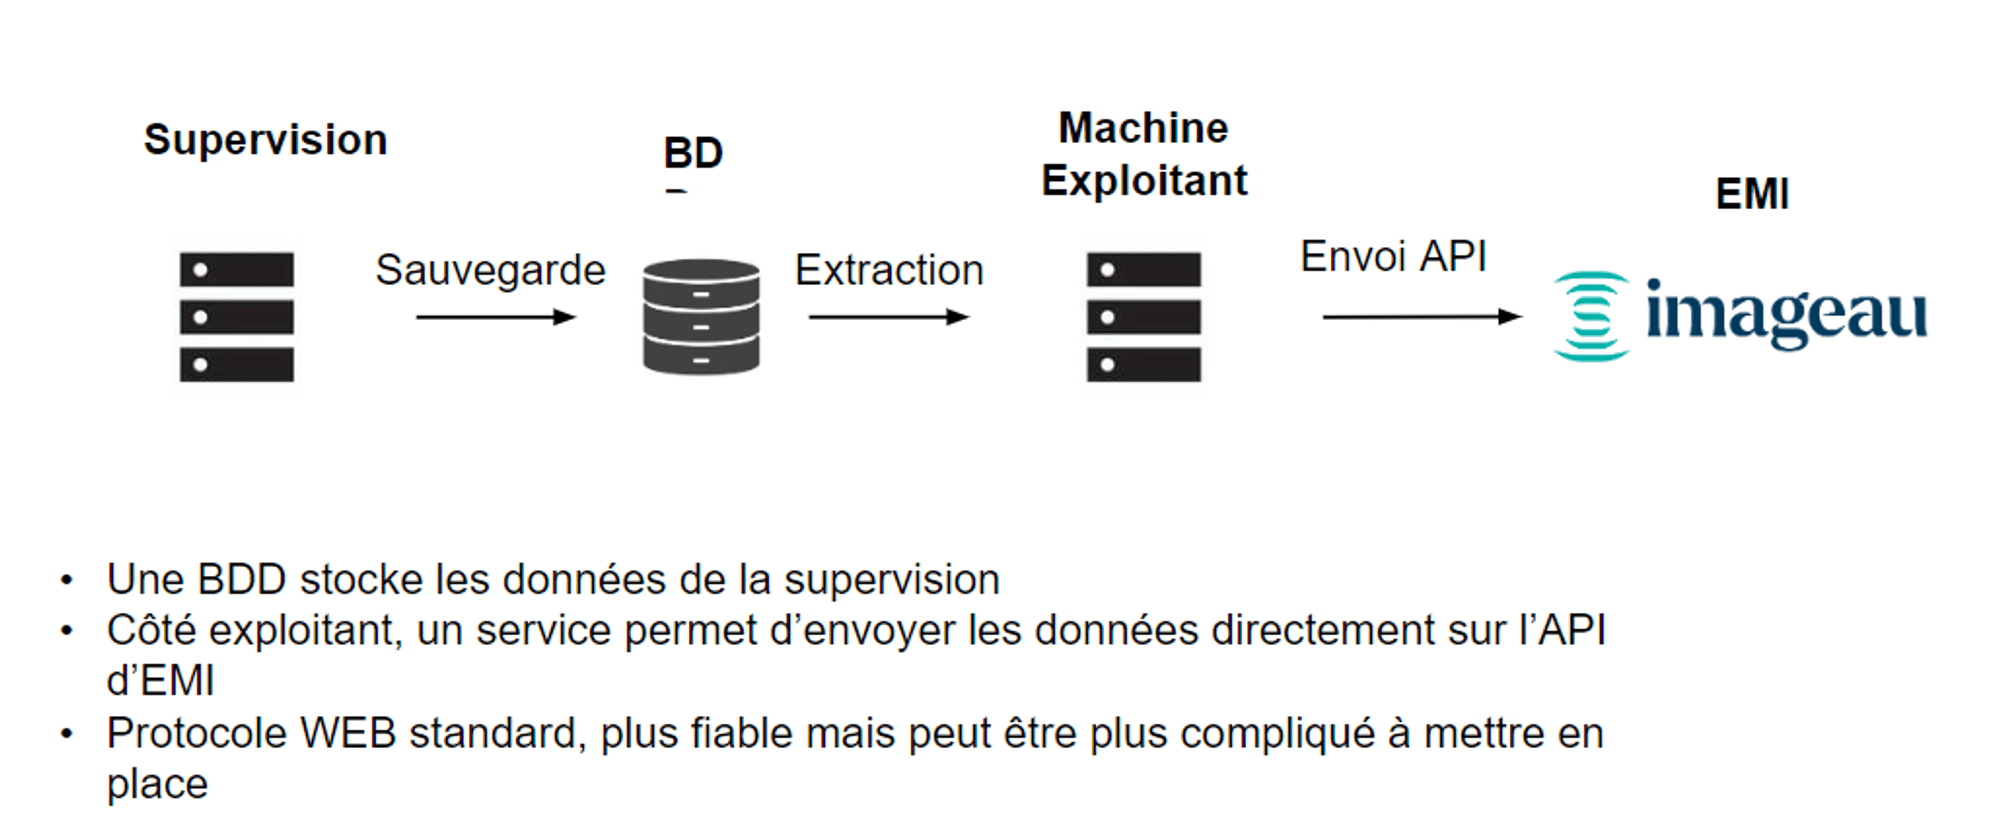
Sending data to the EMI API
The EMI API provides a programmable interface for sending data directly to the EMI system without using the GUI. This allows for seamless integration with various applications and systems, facilitating process automation and data management.

How do I connect to the API?
Before sending data to the EMI API, you need to obtain an access token. This token ensures that requests to the API are secure and authorised. To obtain this token, you need to ask us for access by sending us a request by email to it@imageau.com. Then, when making a request to the api, you need to put “Authorization” in the header and “Bearer {your_access_token}” in the value.
Sending data
URL: https: //emi.imageau.com/api/data This endpoint is used to add sensor data to EMI.
Request body
The body of the request must contain the data you wish to send. This data must be formatted in JSON.
The flag is a unique character string used to identify the sensor to which the data is to be sent.
Example of a request for time data from 2 different sensors:
{
“data”: [
{
“flag”: “flag_1”,
“date”: “2024-01-01 00:01:00”,
“value”: 10.5
},
{
“flag”: “flag_1”,
“date”: “2024-01-01 00:02:00”,
“value”: 10.8
},
{
“flag”: “flag_2”,
“date”: “2022-03-21 00:01:00”,
“value”: 108.4
},
{
“flag”: “flag_2”,
“date”: “2022-03-21 00:02:00”,
“value”: 108.9
}
]
}
Response
If the data is sent successfully, the API will return a response confirming the success of the operation. If not, the API will return an error message.
Error handling
Examples of error codes :
400 Bad Request: The request was invalid or badly formed.401 Unauthorized: The access token is missing, invalid or expired.403 Forbidden: Access to the resource is forbidden.404 Not Found: The requested resource was not found.500 Internal Server Error.
The API endpoints map
| Features | Method | Endpoint | Description |
|---|---|---|---|
| Send data | POST | /api/data | Send data directly to the API |
Sending data files via FTP/SFTP to EMI
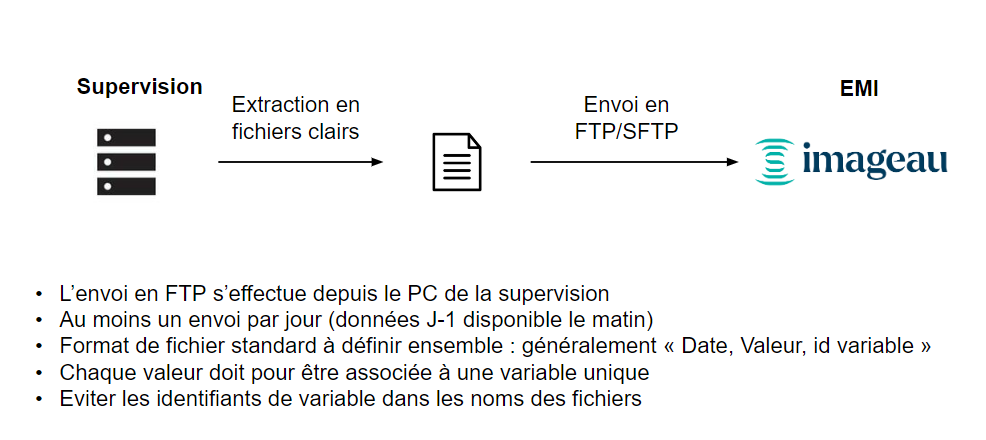
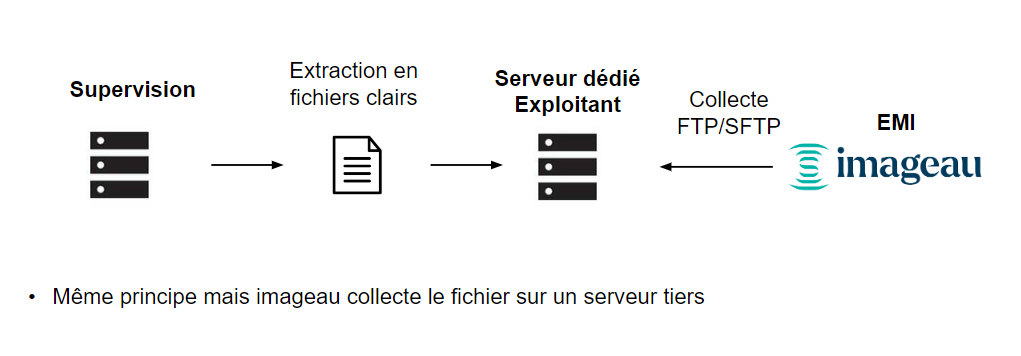
Data from water production facilities is most often added by sending data files extracted from the supervision system, or directly from the sensors. These files are then sent to the ImaGeau server or made available on a dedicated server.
The files are sent / made available at least once a day on the server with the data from the previous day, or from the last 2/3 sliding days (to ensure data continuity in the event of failure to send data on one day).
The export frequency could be higher, with files deposited every hour, for example.
Solution 1: Send files to the IMAGEAU server

Solution 2: Make files available on a dedicated server

File settings
Measurement time step
At least 1 datum per day for water level gauges and piezometers, for example. But for monitoring production facilities, and especially for calculating indicators (static level, specific flow, etc.), the minimum time step is 15 minutes (or less) for level/flow and 1 hour or less for volume.
Format
Files must be sent in clear text, in a unique encoding, and must contain
- a date/time column
- a values column,
- an ID/flag/variable code column, which must be unique so that the data can be integrated with the correct sensors. This code should preferably be in the file, but it can also be in the file name.
Example of formats already used with EMI :
Example with columns and date/time, value and variable code
Example with a variable code in the file name, a date column, a time column and a value column
Example with a variable code built into the file name and column headers, in the form: borehole IMAGEAU_source_flow_level / borehole IMAGEAU_source_temperature / …